Low water pressure can be incredibly frustrating, whether you’re trying to take a shower, do laundry, or wash dishes. The good news is that many causes of low water pressure can be easily fixed without calling a plumber. Before you start worrying about major plumbing repairs, there are several simple DIY solutions you can try to restore the water pressure in your home. Let’s dive into the common causes of low water pressure and how to fix them yourself.
1. Check for Leaks
One of the most common causes of low water pressure is a hidden leak in your plumbing system. A leak can divert water away from your fixtures, reducing the flow you experience at faucets and showerheads.
- How to check for leaks: First, inspect any visible pipes, faucets, and fixtures for signs of water pooling or dripping. If you suspect a leak but can’t find one, turn off all the water in your home and check your water meter. Wait 30 minutes to an hour, then check the meter again. If the meter has moved, there’s likely a leak somewhere in your system.
- Fix: Minor leaks in faucets or under sinks can be fixed by replacing worn washers, O-rings, or tightening connections. If the leak is more severe, such as in hidden pipes or within walls, it’s best to call a professional plumber to prevent water damage.
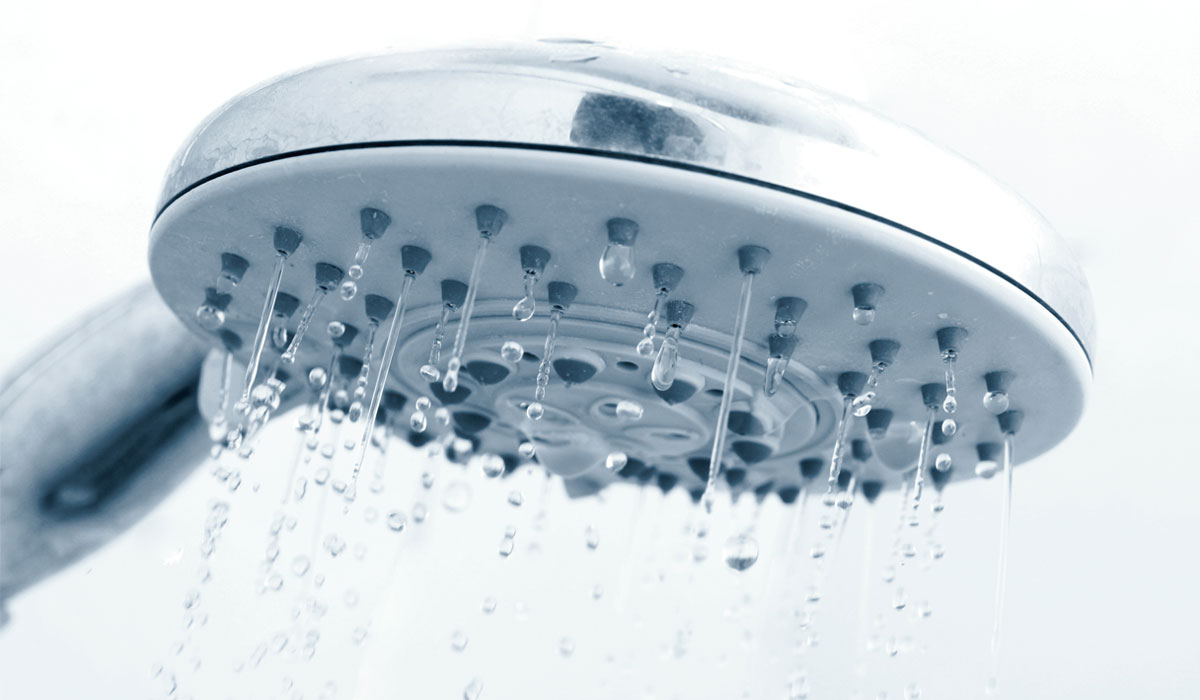
2. Clean Aerators and Showerheads
Over time, mineral deposits like calcium and lime can build up in your faucet aerators and showerheads, reducing water flow and causing low water pressure. Cleaning these components can often restore water pressure to normal levels.
- How to clean an aerator: Unscrew the aerator from the end of your faucet. Soak it in a mixture of vinegar and water for a few hours to dissolve the mineral buildup. Use a small brush or toothpick to clean out any remaining debris, then screw the aerator back onto the faucet.
- How to clean a showerhead: Remove the showerhead and soak it in a bowl of vinegar for several hours or overnight. You can also fill a plastic bag with vinegar, secure it around the showerhead with a rubber band, and let it soak in place if removing it is difficult. After soaking, scrub any remaining mineral deposits with a brush, rinse, and reinstall the showerhead.
3. Check the Main Shutoff Valve
If the main water shutoff valve is not fully open, it can restrict the flow of water throughout your home, resulting in low water pressure. This valve is typically located where the main water line enters your home.
- How to check the shutoff valve: Find your main shutoff valve and ensure it’s fully open. If the valve is only partially open, turn it all the way to restore full water flow. If your home has a gate valve (which requires turning a wheel), make sure it’s turned fully counterclockwise. For ball valves (which have a lever), the lever should be parallel to the pipe when fully open.
- Fix: If the valve was partially closed, simply opening it fully can solve your low water pressure issue. If the valve is difficult to turn or feels stuck, you may need to lubricate it or replace it with a more modern valve.
4. Check the Pressure Regulator
Some homes are equipped with a water pressure regulator, a device that controls the pressure of water entering your home. If the regulator is faulty or set too low, it can reduce the water pressure at all your fixtures.
- How to check the pressure regulator: The pressure regulator is typically located where the main water line enters your home, near the shutoff valve. You can test your water pressure using a pressure gauge attached to a hose bib or outdoor spigot. Ideal water pressure for most homes ranges between 40 and 60 psi (pounds per square inch).
- Fix: If your pressure is below 40 psi, adjust the pressure regulator by turning the screw on the top of the device. Turning the screw clockwise will increase water pressure. If the regulator is broken or not adjusting properly, you may need to replace it. Replacing a pressure regulator is a job that may require a plumber, but adjusting the settings is a quick DIY fix.
5. Inspect Your Water Supply Lines
Corroded or clogged pipes can restrict water flow and lead to low water pressure, especially in older homes with galvanized steel plumbing. Sediment and mineral buildup can reduce the diameter of the pipes, limiting water flow.
- How to check for clogged pipes: If you notice low water pressure at just one or two fixtures, the issue may be localized to the pipes serving those areas. However, if multiple fixtures are affected, it could indicate a problem with your main supply line.
- Fix: If only one faucet or fixture is affected, you may be able to flush out the pipes by turning the water off, disassembling the fixture, and cleaning out any debris or sediment. However, if the problem lies within the main supply pipes, replacing corroded or clogged pipes may be necessary. For major clogs, professional assistance may be required.
6. Look for Issues with the Municipal Water Supply
Sometimes low water pressure is caused by issues with the municipal water supply. If your neighbors are also experiencing low pressure, the problem could be due to maintenance work or a drop in water pressure from the city’s water system.
- How to check the municipal water supply: Contact your local water provider to inquire about any ongoing maintenance or pressure issues. They may be able to provide information on temporary drops in water pressure.
- Fix: If the issue is with the city’s water supply, there isn’t much you can do except wait for the problem to be resolved. In the meantime, you may want to consider installing a water pressure booster pump in your home to increase pressure when the city’s supply is inadequate.
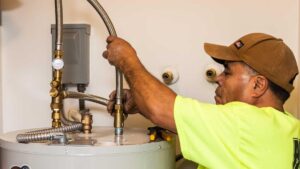
7. Check for Sediment Buildup in the Water Heater
If you’re experiencing low water pressure only with your hot water, the issue may lie with your water heater. Over time, sediment and mineral deposits can accumulate inside the water heater, reducing its efficiency and restricting water flow.
- How to check the water heater: Turn off the water heater and drain it to remove any sediment that has built up inside the tank. You can do this by attaching a hose to the drain valve at the bottom of the tank and letting the water flow out until it runs clear. Be sure to follow your manufacturer’s instructions for draining the tank safely.
- Fix: Draining your water heater every year or so can prevent sediment buildup and maintain proper water pressure. If sediment has caused significant damage, you may need to replace your water heater.
8. Install a Water Pressure Booster
If none of the above solutions work, or if your home is in an area with naturally low water pressure, installing a water pressure booster may be the best option. A booster pump increases the pressure of water as it enters your home, ensuring a stronger flow throughout your plumbing system.
- How it works: A water pressure booster pump is installed on the main water line and works by increasing the flow rate of water entering your home. Booster pumps are especially useful in homes located far from the municipal water source or at the end of the water supply line.
- Fix: Installing a booster pump is a more advanced project, but for homeowners with persistent low water pressure, it can be a game-changer. You may want to consult a professional plumber to ensure proper installation.
Final Thoughts: Boost Your Water Pressure with Simple Fixes
Low water pressure can be annoying, but in many cases, the solution is as simple as cleaning a clogged showerhead, adjusting a valve, or sealing a leak. By taking a systematic approach and addressing each potential cause, you can restore normal water pressure to your home without major repairs. If DIY fixes don’t solve the issue, you may need to consider more involved solutions like upgrading your plumbing or installing a pressure booster, but these simple steps can often get you back to enjoying strong water flow in no time!