Painting your walls can be a transformative experience for your home, bringing a fresh new look to any space. However, the key to a flawless paint job lies in the preparation. Skipping the prep work can lead to a subpar finish, peeling paint, and more. So, let’s dive into the seven essential steps to prep your walls for painting. With these tips, you’ll achieve a professional-looking result without the professional price tag.
Step 1: Clear the Area
First things first, clear the area. Move furniture to the center of the room or, if possible, to another room entirely. Cover the furniture with plastic sheets or drop cloths to protect them from dust and paint splatters. Remove any wall hangings, switch plates, and outlet covers. This will give you a clear, unobstructed surface to work on and ensure nothing gets accidentally painted or damaged.
Step 2: Clean the Walls
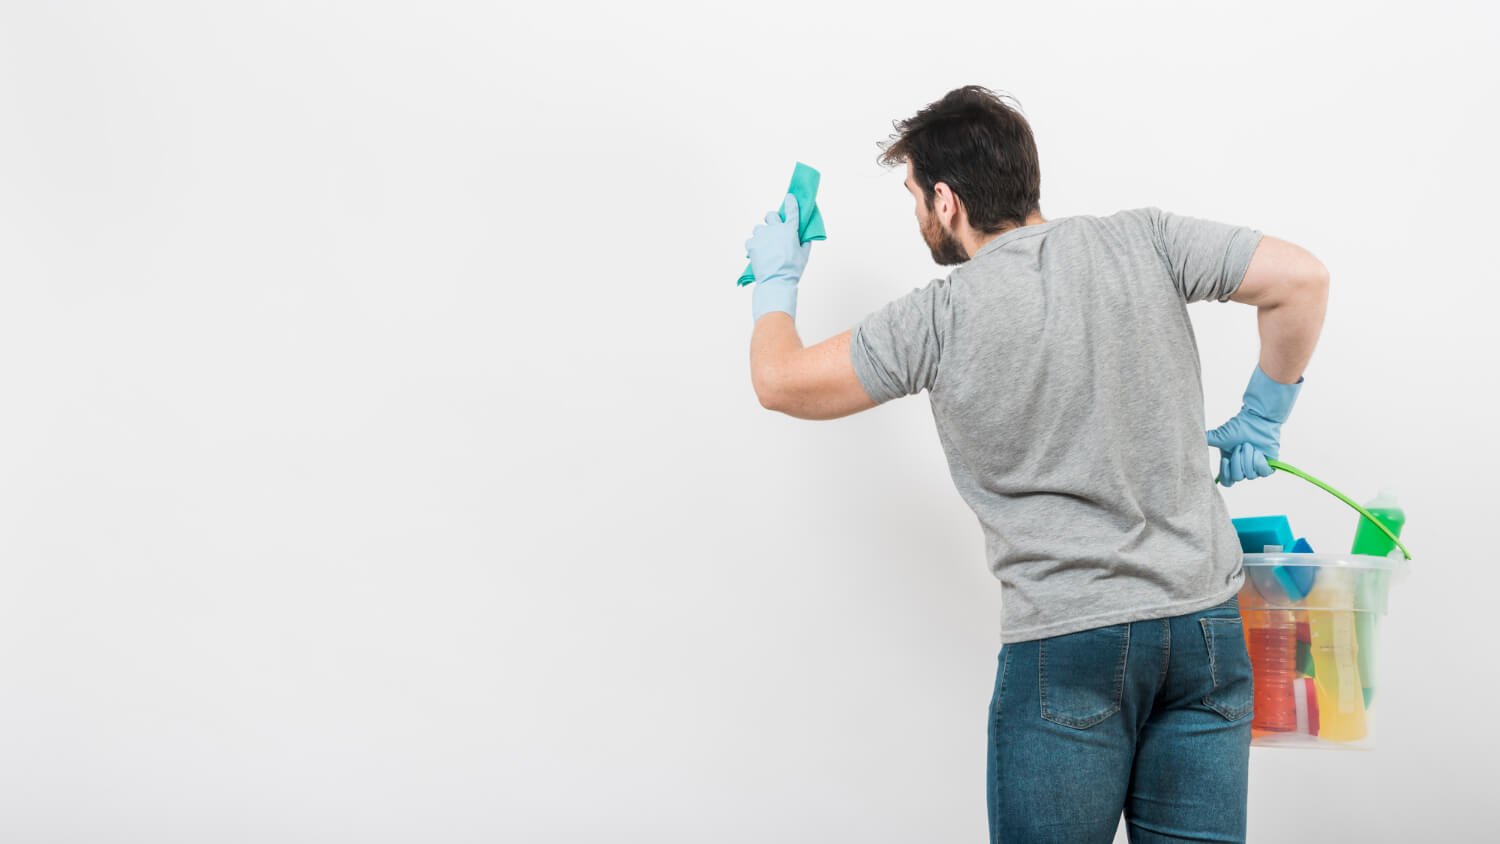
Clean walls are essential for proper paint adhesion. Dust and grime can prevent the paint from sticking properly, leading to uneven coverage and peeling. Use a mild detergent mixed with water to wipe down the walls, paying special attention to areas around light switches and door handles where dirt tends to accumulate. For stubborn stains, a mixture of vinegar and water can work wonders. Make sure to rinse the walls with clean water afterward and let them dry completely.
Step 3: Repair Any Damage
Inspect your walls for any damage, such as holes, cracks, or dents. Use a spackling compound to fill in small holes and cracks. For larger holes, you may need a patch kit, which usually includes a mesh patch and spackling compound. Smooth the spackling with a putty knife and allow it to dry according to the product’s instructions. Once dry, sand the area until it’s smooth and flush with the rest of the wall.
Step 4: Sand the Walls
Even if your walls are in good condition, a light sanding can help create a smooth surface for painting. Use fine-grit sandpaper to gently sand the walls, focusing on any areas that have been patched or repaired. This step helps to remove any remaining imperfections and provides a slightly roughened surface that helps the paint adhere better. Be sure to wipe the walls with a damp cloth afterward to remove any dust created by sanding.
Step 5: Apply Painter’s Tape
Applying painter’s tape is crucial for achieving clean, sharp lines and protecting areas that shouldn’t be painted. Use high-quality painter’s tape to mask off trim, baseboards, windows, and door frames. Press the tape down firmly to ensure it adheres well and prevents paint from seeping underneath. You can also use painter’s tape to create patterns or stripes if you’re going for a more decorative look.
Step 6: Prime the Walls
Priming is a step that many people skip, but it can make a big difference in the final appearance of your paint job. Primer helps to cover any existing colors or stains and provides a uniform surface for the paint to adhere to. If you’re painting over a dark color or on new drywall, priming is especially important. Use a high-quality primer suitable for your wall type and apply it evenly with a roller. Allow the primer to dry completely before moving on to painting.
Step 7: Final Inspection
Before you start painting, do a final inspection of your walls. Look for any areas that might need a bit more sanding or an additional coat of primer. Check the edges of the painter’s tape to ensure it’s still securely in place. Make sure the room is well-ventilated and that you have all your painting supplies ready to go. Taking the time to double-check everything now will save you headaches later on.
Ready, Set, Paint!
With your walls properly prepped, you’re now ready to start painting. Follow these steps diligently, and you’ll be rewarded with a beautiful, long-lasting finish that looks professionally done. Happy painting!