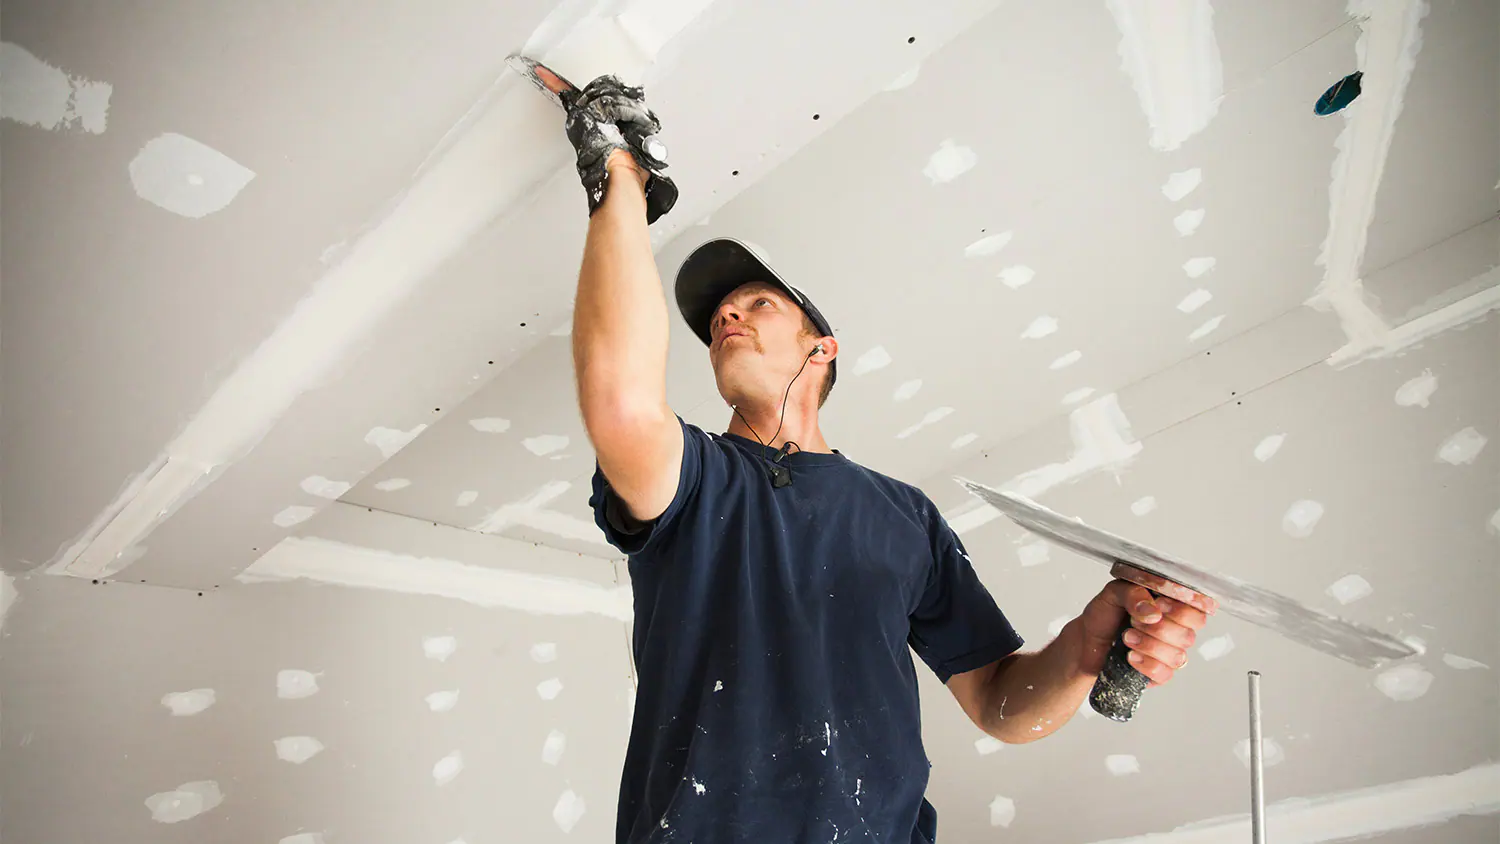
Drywall damage happens to the best of us. Whether it’s from moving furniture, an accidental door swing, or a spirited game of indoor basketball, those dings, dents, and holes can make your walls look less than perfect. The good news? You don’t need to call in a professional to get your walls back in shape. With a little know-how and the right tools, you can repair drywall like a pro—and maybe even have some fun while you’re at it. Let’s dive into the best DIY tips for making your walls look flawless again.
Gather Your Tools and Materials
Before you start patching up those walls, make sure you’ve got everything you need. Here’s a quick list of tools and materials that will make the job easier:
- Drywall compound (also known as joint compound or mud)
- Drywall tape (paper or mesh)
- Drywall saw or utility knife
- Sanding sponge or sandpaper (medium and fine grit)
- Putty knife (various sizes)
- Drywall patch kit (for larger holes)
- Paint and primer to match your wall color
Having these items on hand will save you from mid-project trips to the hardware store, so stock up before you get started.
Small Holes and Dents: Quick Fixes
For small holes and dents, like those from nails or screws, the repair process is quick and easy. Start by cleaning the area around the hole with a damp cloth to remove any dust or debris. Then, use a putty knife to apply a small amount of drywall compound over the hole. Press the compound into the hole and smooth it out, making sure it’s level with the surrounding wall.
Once the compound dries (usually within a few hours), lightly sand the area until it’s smooth. If needed, apply a second coat of compound to fill any remaining indents, then sand again. After sanding, wipe away any dust and apply a coat of primer before touching up with paint. Voila! The hole is history.
Medium Holes: Patching with Drywall Tape
Medium-sized holes, like those left by a doorknob or a small accident, require a bit more effort. Start by cutting away any loose or damaged drywall around the hole with a drywall saw or utility knife. You want clean, smooth edges to work with.
Next, cut a piece of drywall tape that’s slightly larger than the hole. If you’re using mesh tape, simply place it over the hole and press it down. If you’re using paper tape, apply a thin layer of drywall compound around the hole first, then press the tape into the compound.
With the tape in place, use a putty knife to apply a layer of drywall compound over the tape, feathering the edges to blend with the surrounding wall. Let it dry completely, then sand it smooth. You may need to apply a second coat of compound for a seamless finish. Once everything is dry and smooth, prime and paint the area to match the rest of the wall.
Large Holes: Time for a Patch
When you’re dealing with larger holes—say, bigger than a few inches in diameter—it’s time to break out the drywall patch kit. These kits usually come with a self-adhesive mesh patch, making the process straightforward.
Start by cleaning up the edges of the hole as you would for a medium hole. Next, place the self-adhesive patch over the hole, pressing it firmly into place. The patch should completely cover the hole with some overlap on all sides.
Using a putty knife, apply a generous layer of drywall compound over the patch, making sure to feather the edges into the surrounding wall. Let it dry, then sand the area smooth. Depending on the thickness of the patch, you may need to apply a second coat of compound. After everything is dry and smooth, prime and paint the patched area.
Dealing with Cracks: Taping and Reinforcing
Cracks in drywall can be caused by settling, temperature changes, or even poor installation. If you notice a crack, don’t panic—it’s usually easy to fix. Start by widening the crack slightly with a utility knife to create a V-shape. This gives the compound a better surface to adhere to.
Next, apply drywall tape over the crack. Mesh tape works well for cracks, as it’s self-adhesive and flexible. Press the tape down firmly, then apply a layer of drywall compound over the tape, smoothing it out with a putty knife. Feather the edges to blend with the wall.
Once the compound dries, sand the area until it’s smooth. You may need to apply additional layers of compound, especially if the crack was deep. After sanding, prime and paint the area to match your wall.
Finishing Touches: Sanding, Priming, and Painting
No drywall repair is complete without the finishing touches. After you’ve sanded the repaired area smooth, it’s important to prime it before painting. Primer helps the paint adhere better and ensures a uniform finish. It also prevents the patch from showing through the paint, especially if you’re working with a dark or vibrant color.
Once the primer is dry, apply your paint in thin, even coats, blending the edges with the surrounding wall. Depending on your wall color, you might need two coats for full coverage. Let the paint dry completely, and then step back and admire your handiwork.
Tips for a Pro-Level Finish
- Feather those edges: When applying drywall compound, always feather the edges to create a smooth transition between the patch and the surrounding wall. This makes sanding easier and helps the repair blend seamlessly.
- Patience is key: Allow each layer of compound to dry completely before sanding or applying additional coats. Rushing the process can lead to a bumpy finish.
- Match your paint: Take the time to match your paint color exactly. If you’re unsure, take a small chip of your wall paint to the hardware store for a color match. A perfect match makes all the difference in hiding the repair.
Final Thoughts: You’ve Got This!
Repairing drywall might seem intimidating at first, but with the right tools and a little practice, you can tackle those dings, dents, and holes like a pro. The key is to take your time, follow these tips, and don’t be afraid to get a little messy. After all, the beauty of DIY is learning as you go and taking pride in the results. So grab your tools, put on your favorite playlist, and get ready to give your walls the TLC they deserve. Happy repairing!


