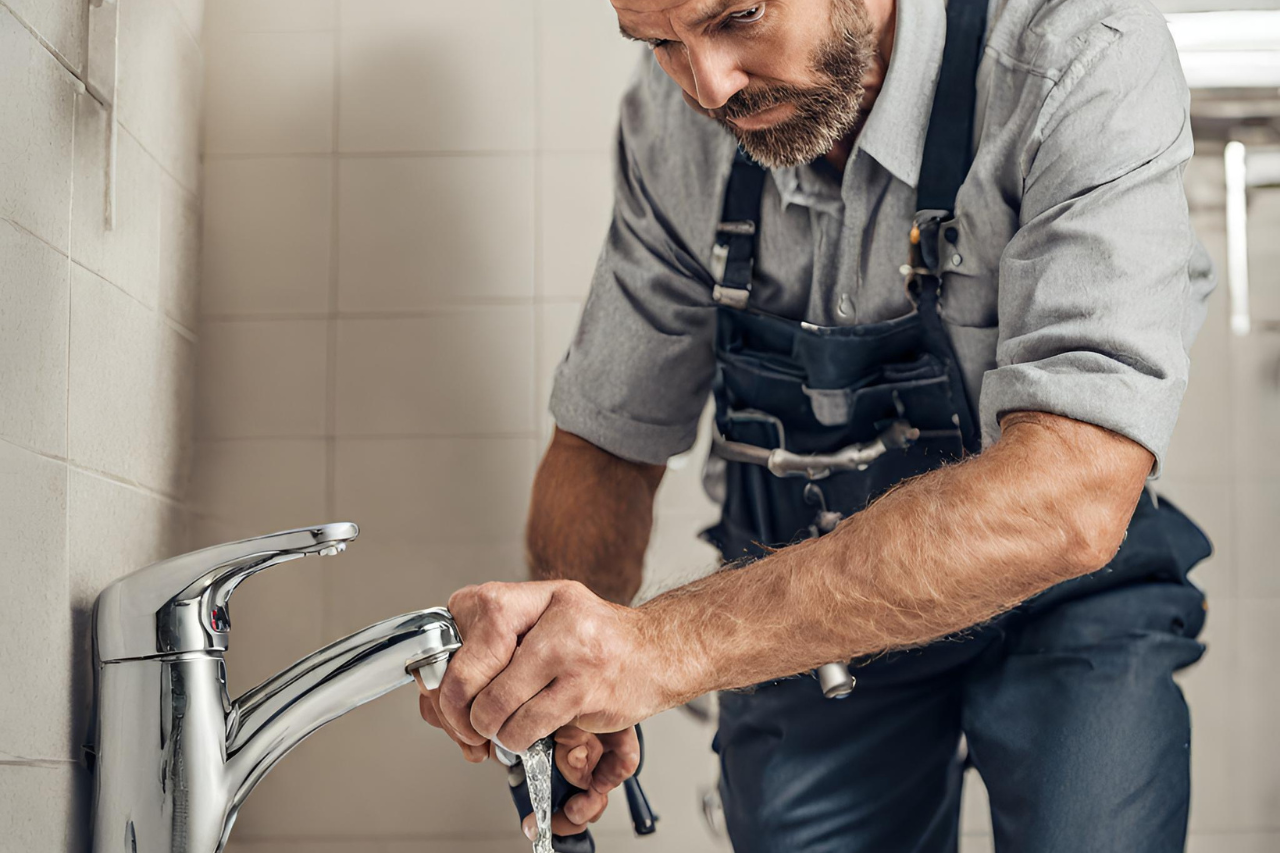
A leaky faucet may seem like a small annoyance, but it can waste a significant amount of water over time and increase your utility bills. Fortunately, fixing a leaky faucet is often a simple DIY task that can be done in just a few steps. Whether you have a dripping handle or a slow leak from the spout, here’s how to fix a leaky faucet in five easy steps.
Step 1: Turn Off the Water Supply
Before you start disassembling your faucet, it’s essential to turn off the water supply to prevent any accidents or further water waste. You can find the shutoff valves under the sink, usually located near the pipes that connect to the faucet.
- How to turn off the water:
- Locate the shutoff valves beneath the sink. There are usually two valves: one for hot water and one for cold water.
- Turn both valves clockwise to shut off the water supply completely.
- If there are no individual shutoff valves, you may need to turn off the main water supply to your home. Once the water is off, open the faucet to release any remaining water in the lines.
Step 2: Remove the Faucet Handle
To access the parts causing the leak, you’ll need to remove the faucet handle. The handle is typically secured by a screw, which may be hidden under a decorative cap.
- How to remove the handle:
- Use a flathead screwdriver to carefully pry off the decorative cap on the handle (if applicable).
- Once the cap is removed, use a screwdriver to loosen the screw holding the handle in place.
- Gently pull the handle off the faucet to expose the inner components. Depending on your faucet type, you may need to remove additional parts to access the valve or cartridge.
Step 3: Replace the Washer or Cartridge
The most common cause of a leaky faucet is a worn-out washer or cartridge inside the valve. These components control the flow of water, and when they become damaged, water can leak through even when the faucet is turned off.
- How to replace the washer or cartridge:
- If your faucet has a washer, remove the screw that holds the washer in place and replace it with a new one. Be sure to use the correct size washer for your faucet.
- For faucets with cartridges, remove the old cartridge by unscrewing it from the valve. Take the old cartridge to a hardware store to find an exact replacement.
- Install the new washer or cartridge by screwing it into place and ensuring it’s secure.
Step 4: Reassemble the Faucet
Once you’ve replaced the faulty part, it’s time to reassemble the faucet. This step is as simple as retracing your steps from the disassembly process.
- How to reassemble:
- Place the handle back onto the faucet and secure it with the screw.
- If your faucet has a decorative cap, snap it back into place over the screw.
- Make sure all parts are tightly secured to prevent further leaks.
Step 5: Turn On the Water and Test the Faucet
Now that your faucet is reassembled, it’s time to turn the water supply back on and test your repair. Check to make sure the leak has stopped and the faucet operates smoothly.
- How to test the faucet:
- Turn the water supply valves under the sink back on by turning them counterclockwise.
- Slowly open the faucet to let water flow through and check for any leaks around the handle or spout.
- If the faucet no longer leaks, your repair was successful. If the leak persists, you may need to inspect other components or consult a professional.
Final Thoughts: A Simple DIY Fix for a Common Problem
Fixing a leaky faucet is a quick and easy project that can save you money on your water bill and prevent water waste. By following these five steps, you can tackle the most common cause of leaks—worn-out washers or cartridges—and have your faucet working like new in no time. With just a few tools and a little bit of time, you can keep your faucet drip-free and your home running smoothly.