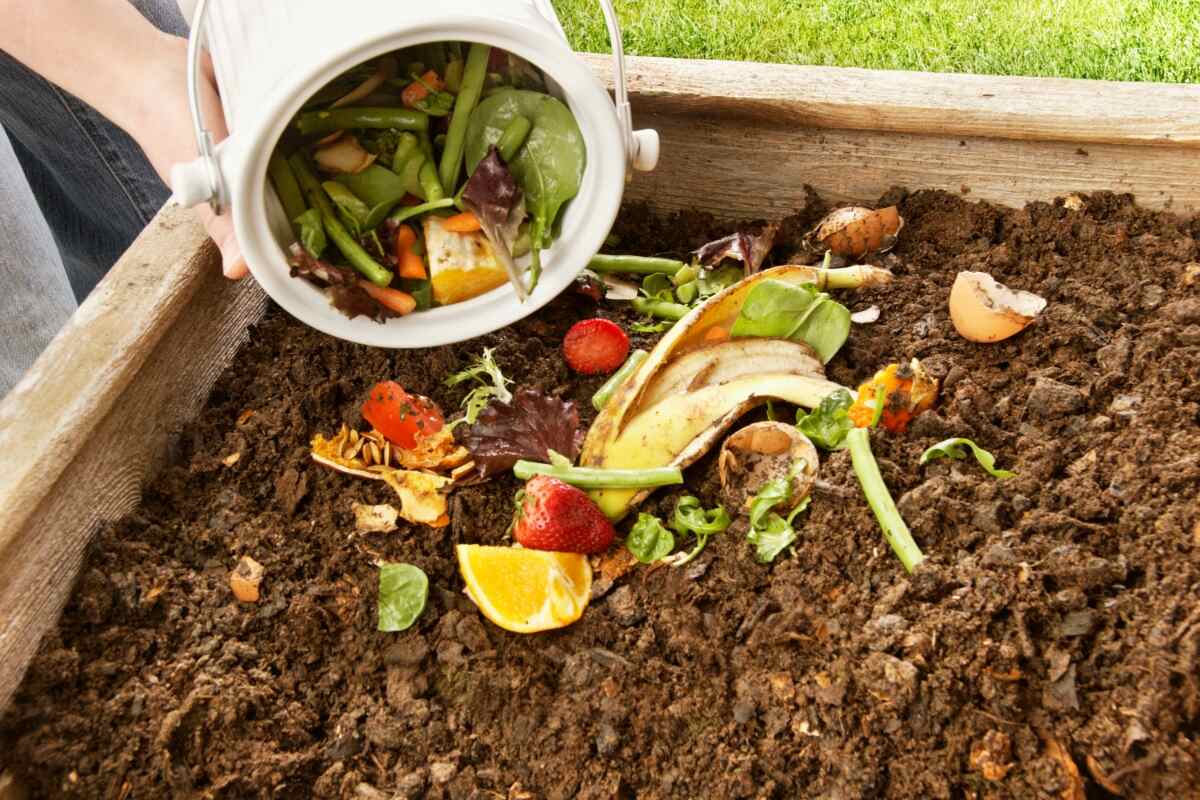
Creating a compost pile is one of the best things you can do for your garden, your wallet, and the environment. It’s like giving your yard a natural, nutrient-rich smoothie that helps plants thrive while reducing waste. Plus, it’s surprisingly easy and satisfying to turn kitchen scraps and yard waste into something that benefits your garden. Ready to get started on your composting journey? Let’s dig into the details of how to build and maintain a compost pile that will keep your yard green and gorgeous year-round.
Choose the Right Spot
The first step in building a compost pile is finding the perfect spot in your yard. Look for a level, well-drained area that’s easy to access but not right in the middle of your lawn. You’ll want somewhere that gets a bit of sunlight but isn’t exposed to extreme heat or too much moisture. A partially shaded spot near your garden or backyard works great.
Make sure the location is convenient enough that you’ll remember to add to it regularly but not so close to your home that any occasional odors become an issue. A little bit of planning here can save you from hauling kitchen scraps too far or forgetting about the pile altogether.
Gather Your Materials
Once you’ve picked the spot, it’s time to gather the materials you’ll need to start your compost pile. The basic ingredients for a thriving compost are:
- Browns: These are your carbon-rich materials like dry leaves, straw, cardboard, and small branches. Browns provide the structure and air pockets in your pile, which are essential for proper decomposition.
- Greens: These are nitrogen-rich materials, including fruit and vegetable scraps, coffee grounds, grass clippings, and fresh leaves. Greens help to heat up the pile, speeding up the composting process.
- Water: Moisture is key to breaking down your compost materials. Your pile should be damp, like a wrung-out sponge, but not soggy.
- Air: Oxygen is necessary for aerobic decomposition. Proper layering and occasional turning of your compost pile ensure that air reaches all parts of the pile.
Start Your Pile
To build your compost pile, begin with a layer of coarse materials like small branches or straw. This base layer helps with drainage and allows air to circulate at the bottom of the pile. Next, alternate layers of browns and greens. Aim for a ratio of about three parts browns to one part greens—this balance provides the best conditions for decomposition.
As you add each layer, sprinkle a bit of water to keep the pile moist. If you’re adding kitchen scraps, bury them in the middle of the pile to avoid attracting pests. Continue layering until your pile is about three feet high and wide, which is the optimal size for maintaining heat and promoting decomposition.
Maintain Your Compost Pile
Maintaining your compost pile is where the fun begins! A well-maintained pile will break down quickly, turning your waste into rich, dark compost in as little as a few months. Here’s how to keep things running smoothly:
- Turn the Pile Regularly: Every few weeks, use a pitchfork or shovel to turn the pile. This aerates the compost, helping it break down faster and preventing any unpleasant odors. Turning also redistributes moisture and heat, ensuring all parts of the pile decompose evenly.
- Monitor Moisture Levels: Your compost pile should be moist but not waterlogged. If it’s too dry, add more water or green materials. If it’s too wet, mix in more browns like dry leaves or cardboard to absorb excess moisture.
- Keep an Eye on Temperature: A healthy compost pile will heat up as the materials break down, sometimes reaching temperatures of 130°F to 160°F in the center. If your pile isn’t heating up, try adding more greens or turning it more frequently. On the flip side, if it’s too hot, you might need to add more browns or water to cool it down.
- Be Patient: Composting is a natural process that takes time. Depending on the conditions and the materials used, it can take anywhere from a few months to a year for your compost to be ready. You’ll know it’s done when the material is dark, crumbly, and smells like rich soil.
What to Compost (and What to Avoid)
To ensure your compost pile thrives, it’s important to know what can and can’t be composted. Here’s a quick guide:
- Compost These: Fruit and vegetable scraps, coffee grounds, tea bags (without plastic), eggshells, grass clippings, leaves, shredded newspaper, cardboard, and small amounts of hair or fur.
- Avoid These: Meat, dairy, oils, fats, diseased plants, weeds with seeds, pet waste, and anything treated with pesticides or herbicides. These items can attract pests, create odors, or introduce harmful substances into your compost.
Using Your Finished Compost
Once your compost has fully decomposed, it’s time to put it to good use! Finished compost is rich in nutrients and can be used in a variety of ways around your yard and garden:
- Soil Amendment: Mix compost into your garden soil to improve its structure, water retention, and nutrient content. Your plants will thrive with this natural boost.
- Mulch: Spread a layer of compost around the base of plants, trees, and shrubs as a mulch. This helps retain moisture, suppress weeds, and gradually feeds your plants as it breaks down.
- Compost Tea: Steep a handful of compost in a bucket of water for a few days to create a nutrient-rich “compost tea” that can be used to water your plants and give them an extra dose of nourishment.
Final Thoughts: Composting for a Greener Future
Building and maintaining a compost pile is one of the best ways to recycle organic waste, reduce your environmental footprint, and create a healthier, greener yard. It’s an easy, rewarding process that turns your kitchen scraps and yard waste into a valuable resource for your garden. Plus, it’s a great way to teach kids about sustainability and the natural cycle of growth and decay. So grab a pitchfork, start layering those browns and greens, and watch your compost pile transform into black gold for your garden. Happy composting!